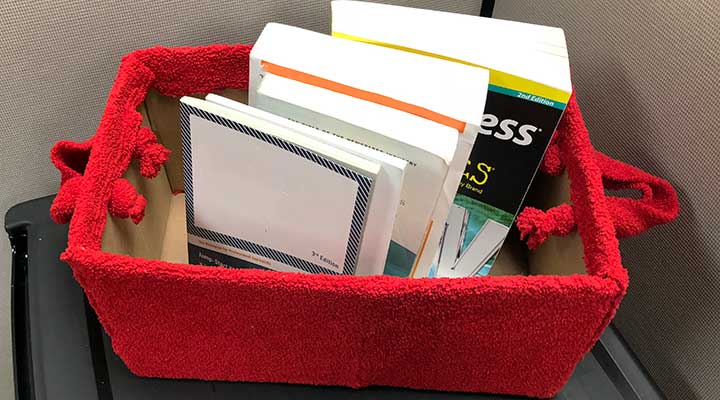
Quick and Easy DIYs: Recycled Sweater Box
Mar 31, 2023 / Alyssa Duranty
As you’re going through your closet this season or taking your autumn outfits out of storage, you may find some outdated pieces that you know won’t wear.
Instead of leaving out-of-season sweaters in drawers or taking up closet storage space, you should consider upcycling it! Sweaters can make fun covers for those cardboard boxes you get in the mail (you know, the ones you got from your online shopping spree for fashionable outerwear to fill the void).
If you love quick and easy DIYs, here’s some simple instructions to help you build this good-looking storage craft!
Supplies You’ll Need for this Quick and Easy DIY:
Cut Flaps off a Box and Add Holes for Handles
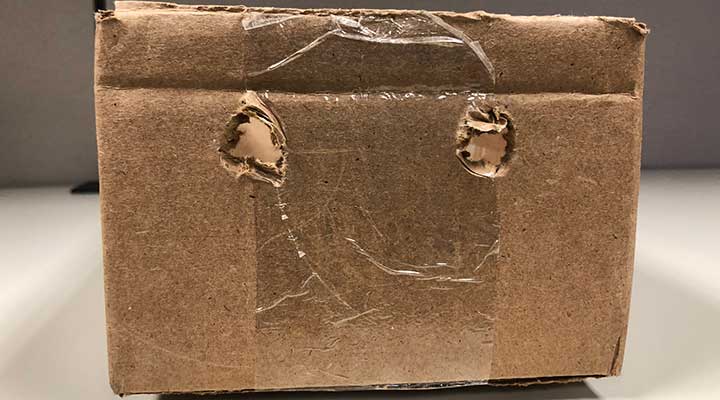
Grab a cardboard box that will easily fit inside your old sweater and cut off the top edges to give yourself an easy border to work with. Cut two holes in opposite ends of the box to make room for some handy handles!
Make sure to choose a study box that is not weathered so that it will stand the test of time. After all, you don’t want to finish the craft only to have bottom fall out on you! Consider adding tape to flaps at the bottom of the box to increase its durability.
Fit Your Sweater Around the Box Before Cutting
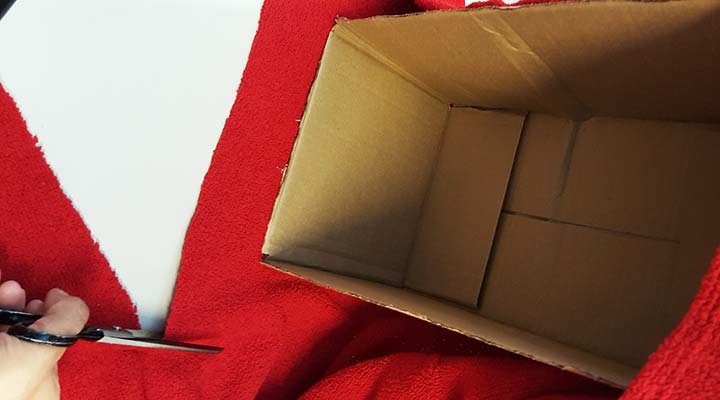
Make sure your box will fit inside your chosen sweater before picking up your scissors! You want it to fit comfortably and have enough fabric leftover to create handles.
Once your box is nestled inside the sweater, mark the material at the bottom to line it up with the box.
Plan to cut the fabric about two or three inches above the top rim, so you can later fold it over and into the box. You don’t want the cardboard edge to peak out and ruin the façade!
Use a Hot Glue Gun to Secure the Fabric on the Box
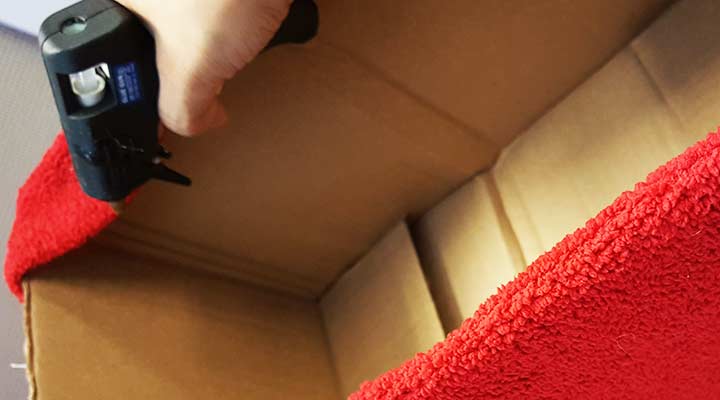
Start off by gluing the sweater to the box around the bottom edge. Once that has dried, fold the extra fabric over the upper edge and fasten it to the inside of the cardboard box with more glue.
Let the adhesive dry completely before cutting holes in the fabric for your handles. If your sweater fabric feels loose around the top edges, add additional hot glue before moving to the next steps.
Measure and Sew Material for Handles
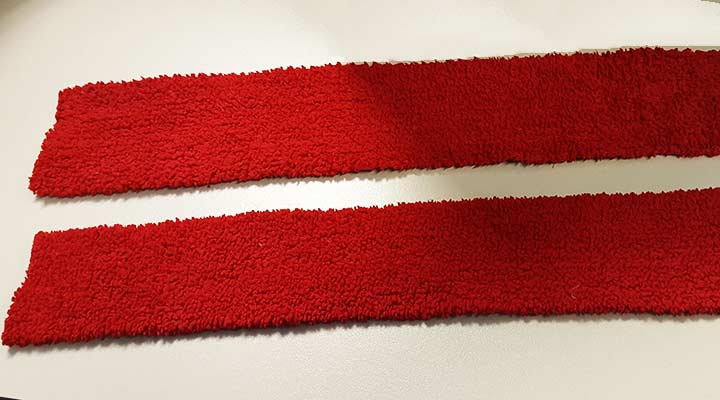
After you’ve cut and glued the sweater to your box, take the extra fabric and cut four strips to make handles. Take two of the pieces and sew (or glue) them together to make sturdy straps!
You can use a pencil or straw to help thread the fabric through the holes to the other side. Tie off the fabric to help ensure the handles stay in place when you move the box around your home or office.
If you want to make this craft even easier, feel free to skip out on making handles.
Add Your Favorite Things!
Whether you’re an avid reader with a need for bookcase overflow or have kids with too many toys, this box can fit into many spaces and rooms around the house.
Keep your spare decorative pillows in the box instead of the floor. Add a DVD collection for impromptu movie nights at home. Or store your other craft supplies between quick and easy DIY projects.
The ideas and uses are endless! And this craft can be copied over and over again with different-size boxes and sweater patterns, if you find that you need another.
Did you create this craft? Tag us in your photos on social media! We’d love to see them.


